Greetings followers of the Atlantic Pacific Railroad and my blog!
We're getting ready to head back to the northern command this Wednesday, and I wanted to get in one more update before I get into packing mode...
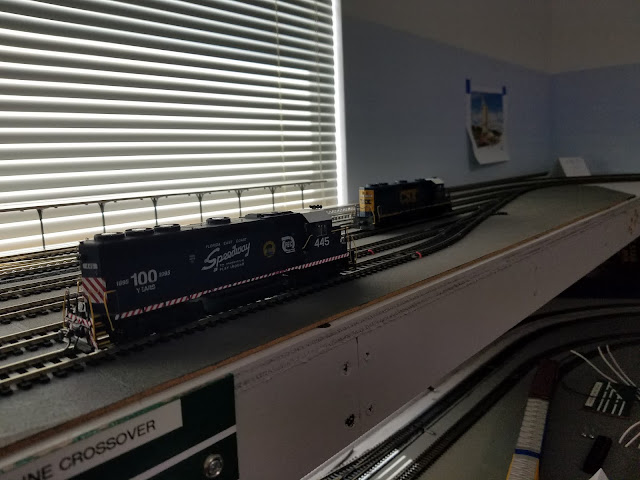
I decided to do some work on the upper level. The first thing I did was to move some freight cars around to see the functionality of the upper yard or interchange yard. This yard will be used to service the industries on the upper level. Two engines will be based in the yard to do work on both sides of this level. A GP39-2 and GP40 will be based up top.
I wanted to make sure I had enough space for cars to be stored. There are two stub tracks in the yard.
There was some space on the stub tracks so I added another foot on each track..
This gives me plenty of head space. The two tracks in front of them are the interchange tracks.
The next thing I decided to tackle were the under the table switch machines in this area. There are 7 that needed to be installed. It's not that easy to do them solo and quite honestly, it's been years since I did them on the NJ layout. Also, add to the fact that I'm height challenged so it makes it a little more difficult (no comments about the latter, please).
The tough part is adding the wires to them while they are mounted. Working upside down is a challenge. While looking thru some parts I stumbled on these..
I've used them on the Atlas Snap Relays. I took out another switch machine from the drawer and wanted to see if they fit on the machines. As one of my friends says often about himself, and I said to myself - "Neal, you're and idiot!" These work great and once i added the wires to them, I can install the wires on the machines, upside down, in minutes!! What a time saver!
Next project was to decide on how to mount the push buttons and panels for them. Since the upper level is set back from the lower level, there was no need to cut away the wood, just make some small panels and add them to the front. I did 4 of them right now, 3 of which are mounted, the fourth will be mounted by tonight and all will be wired in. There's a fifth panel that will be needed for this section...
Here's the work area and one of the control panels. Since there's not a workbench, I make do with what I have. I use 1/8" automotive pin stripe for the lines. Don't worry, there's no power on the rails...😁
Here's a look at some of the panels mounted...
I will piece in the gray areas with Masonite when all of the panels on the layout are installed...
The layout is coming along and I am pleased with the way it's going to run. I still need to address the upper level east wall with the industries. Those tracks may change as I do have an idea on the building that I want to use as a backdrop to hide the tracks for the passenger trains as they head to 'another destination'.
That's all for now. More Florida updates in the summer when I come back to check on the place..
Thanks for reading!


Looking good at South Command! Every additional foot of yard space is a good thing! I like those Atlas connectors! Thanks for showing them! As always I admire your fast and neat electrical work. Nice new control panels!
ReplyDeleteNice seeing the South Command RR taking shape and getting closer to operations! As always your electric work and control panel systems look great. Nice EBRR boxcar photobomb!!!! Don't forget to pack up the EBRR 360279....
ReplyDelete